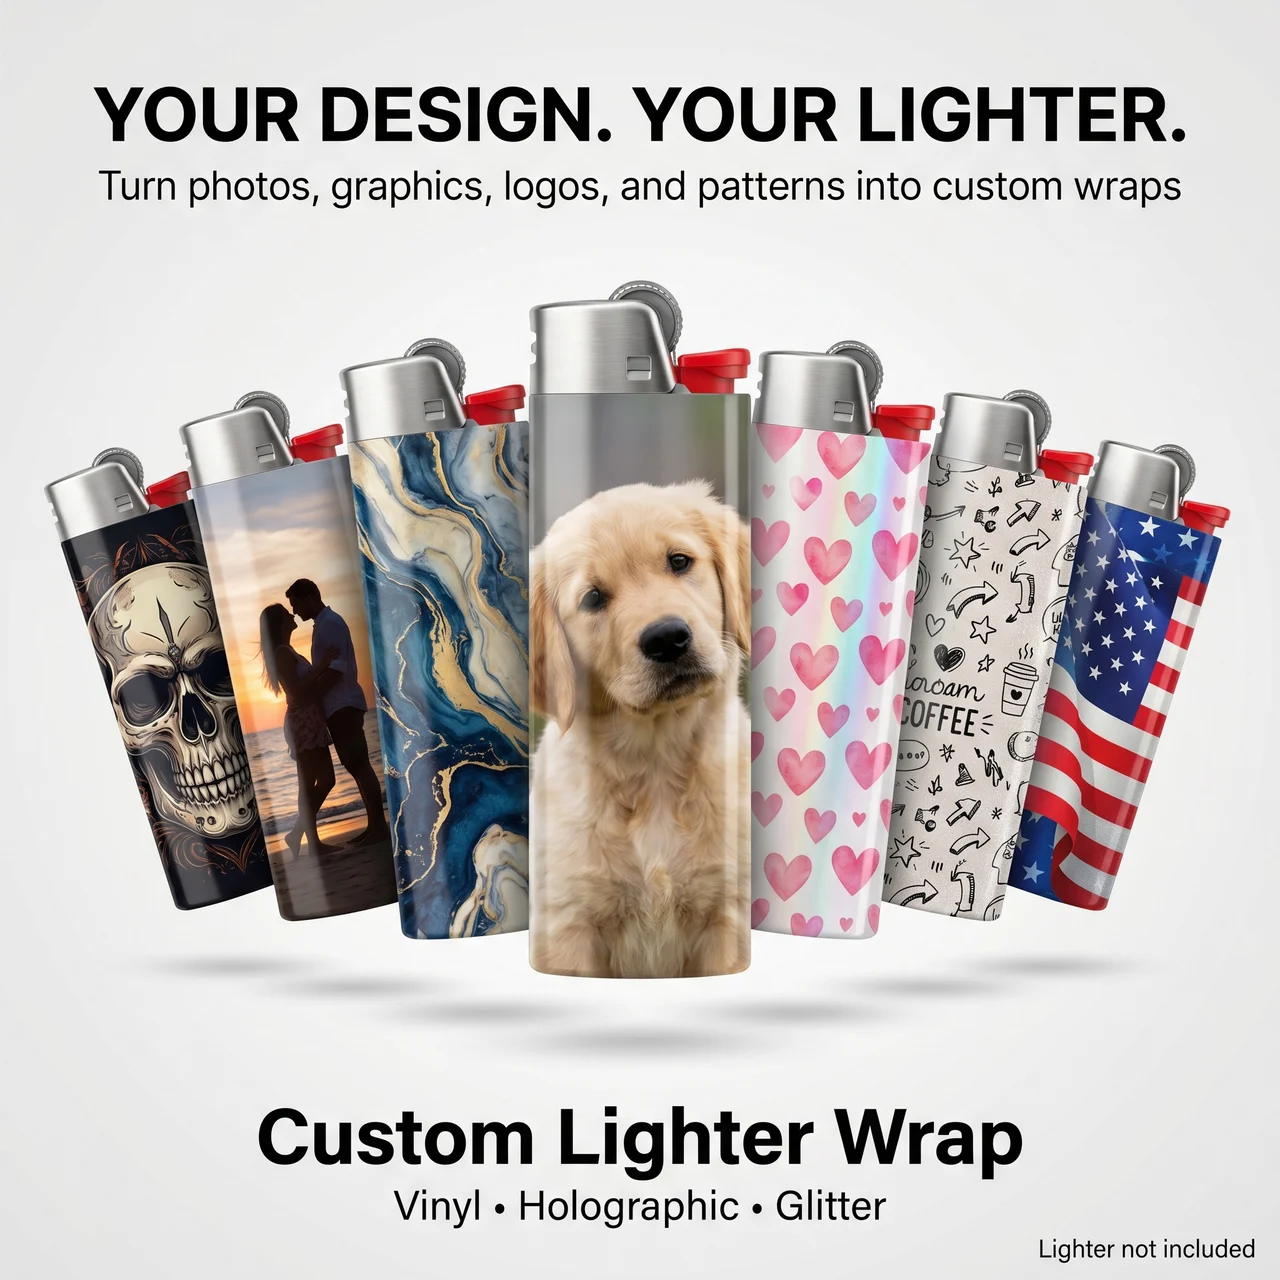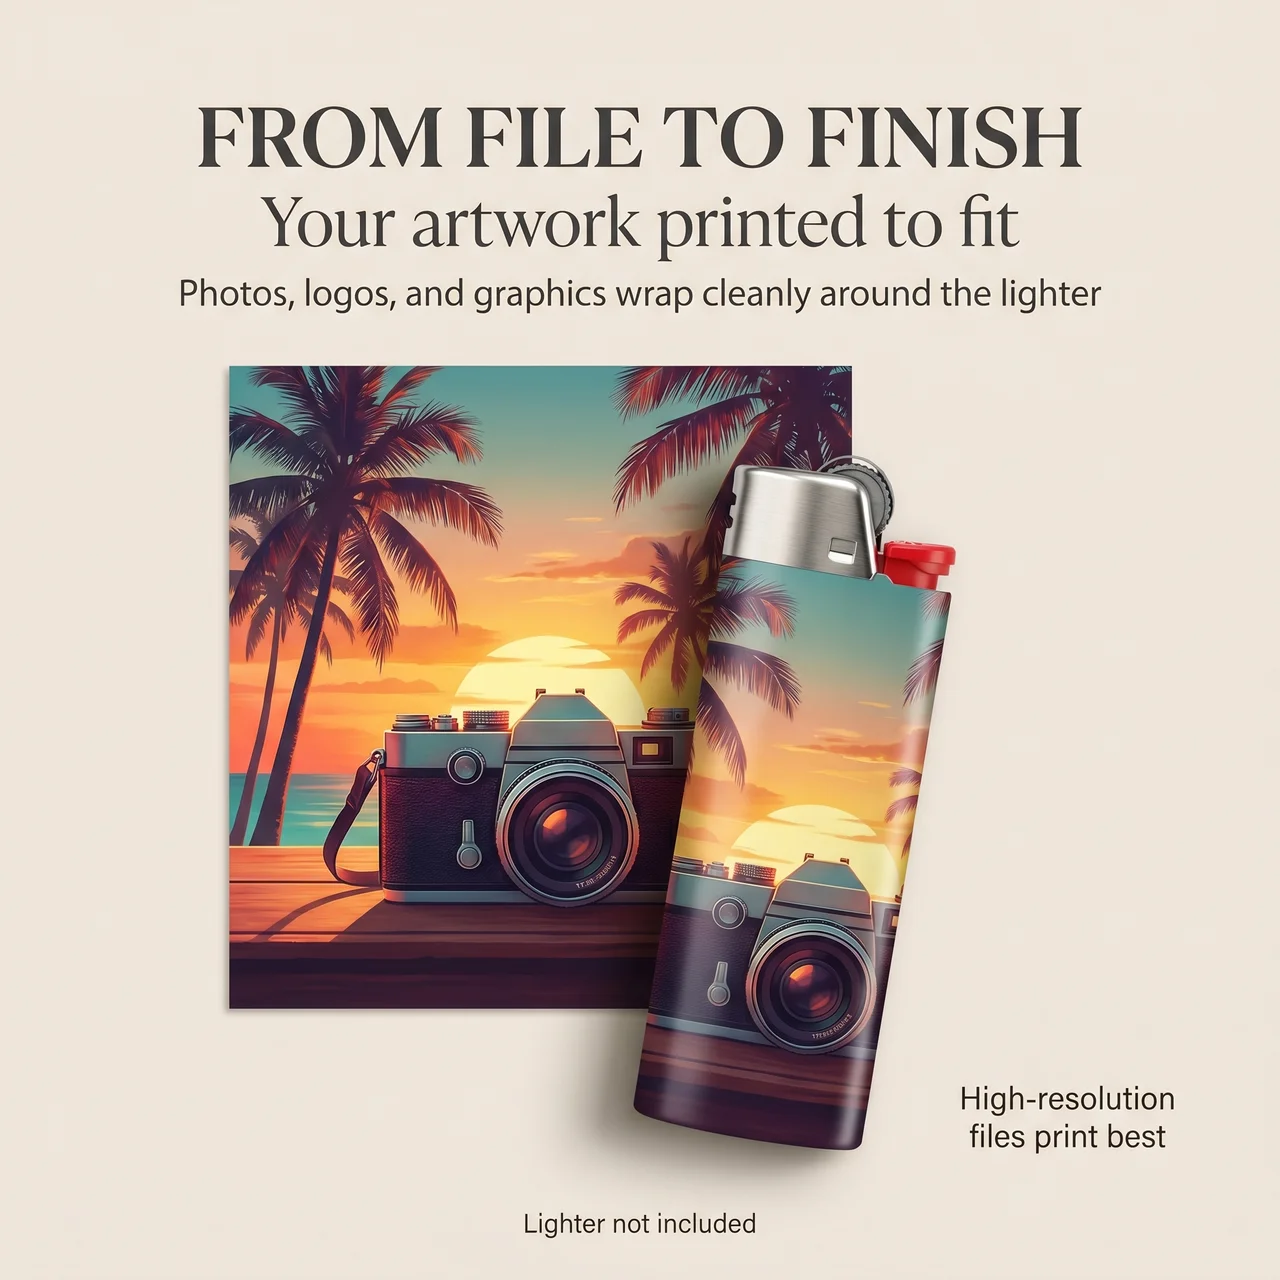

A clean lighter-wrap application starts before the backing is removed. Check the fit, orientation, and mechanism clearances while the material is still easy to handle.
Quick answer: dry-check the layout, prepare only the approved body surface, align carefully, and inspect the seam and functional areas.
On this page
- Check the fit and wrap orientation
- Prepare the approved surface
- Align and smooth the wrap
- Inspect clearances and the seam
- FAQs
Check the fit and wrap orientation
Compare the wrap with the supported lighter shape and current template. Confirm where the main artwork should face and where the seam will sit.
Preview the orientation with the backing in place. If the artwork has a portrait on one side and a name on the other, decide which face you want to present and where the seam belongs before adhesive contact makes those choices harder.
Follow the lighter manufacturer's instructions throughout. Do not attempt application while it is lit, hot, or otherwise unsafe to handle.
Prepare the approved surface
Use the application guidance for custom lighter wraps and the lighter manufacturer's restrictions.
Apply material only to the supported body area. Do not cover operating components or required warnings.
Use only an approved preparation method. Do not invent a solvent, heating, or abrasive treatment for a fuel-containing item. If the surface or cleaning method is uncertain, ask before starting.
Handle the wrap so the adhesive stays free of dirt and unnecessary finger contact.
Align and smooth the wrap
Follow the supplied sequence for exposing the adhesive and positioning the first edge. Maintain the intended orientation as the design travels around the body.
Smooth using the recommended method rather than pulling hard to force a poor fit. Excess stretching can shift artwork or create an uneven seam.
If repositioning is not documented as supported, do not assume you can repeatedly lift and reapply the material.
Stop when the shape, clearance, or material behavior does not match the instructions. A mismatch is easier to resolve before the entire wrap is applied.
Inspect clearances and the seam
Check that the seam follows the intended layout and that edges are not entering functional areas.
Look for loose edges, significant bubbles, or misplaced artwork. Use only corrections approved for the product.
Do not use a lighter flame, improvised heat, or sharp tools around the mechanism to correct the wrap. Ask for guidance when the result needs more than an approved adjustment.
Keep the relevant application and care instructions with the finished item, particularly if it is a gift.
FAQs
Should I check the wrap before removing the backing?
Yes. Compare fit, orientation, and seam position while it remains easy to handle. A dry preview helps catch an incompatible shape or upside-down design before adhesive contact makes the problem harder to correct.
What should I use to clean the lighter?
Follow the wrap guidance and the lighter manufacturer's restrictions. Do not assume an aggressive solvent, abrasive, or heat treatment is suitable. If no compatible preparation method is clear, ask before applying material to the item.
Can I reposition the wrap after it touches the lighter?
Only assume repositioning if the product instructions support it. Adhesives can behave differently, and repeated lifting may affect the result. Plan the orientation first and follow the supplied application sequence rather than relying on trial and error.
How do I fix a lifted edge?
Use the product's approved corrective guidance. Check fit and whether the edge is near a functional area. Do not improvise with flame, heat, or cutting around the mechanism; stop using the decorated item if the material interferes with operation.