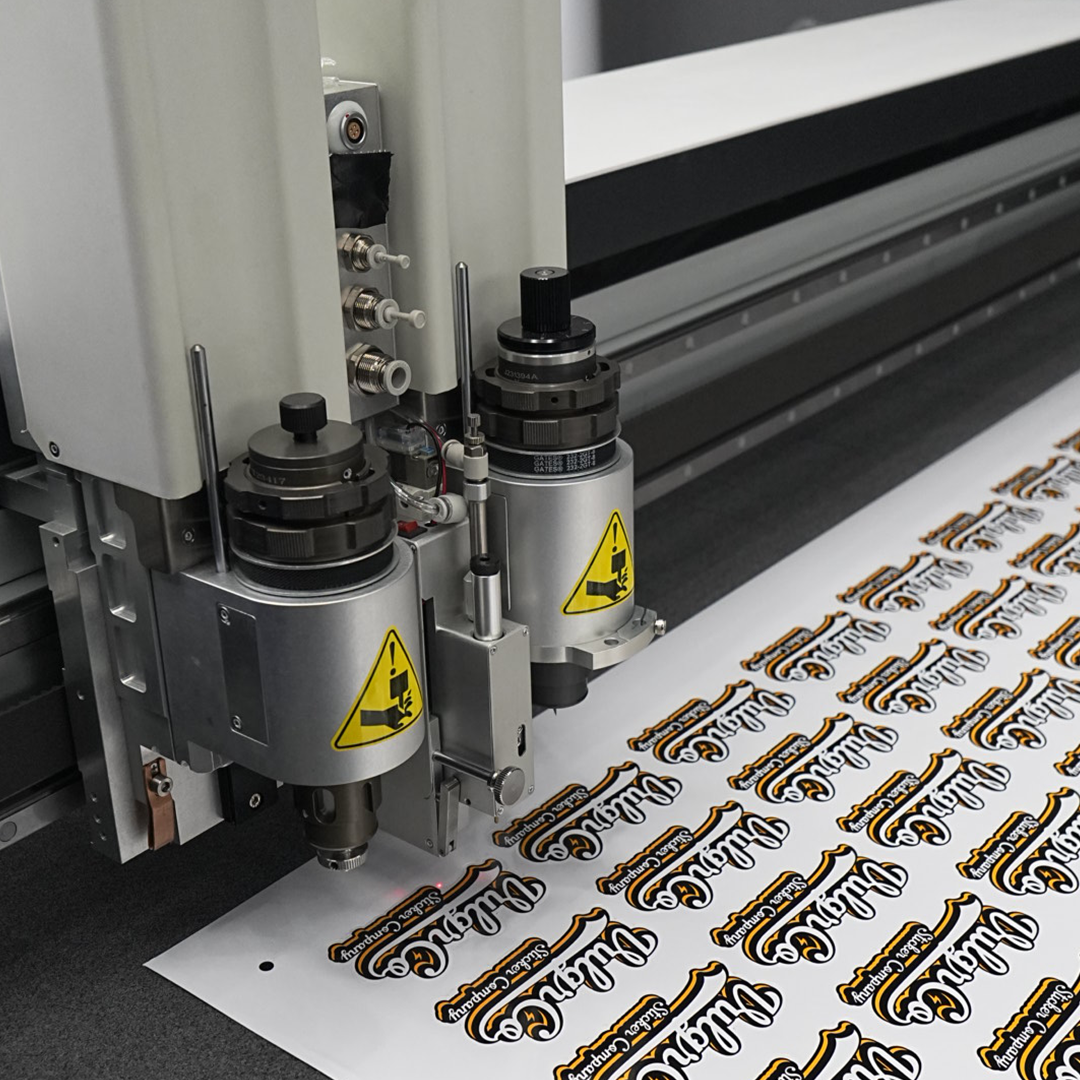

A DTF gang sheet combines several transfer graphics on one sheet. Good planning saves space while preserving accurate sizes, quantities, and enough room for the approved cutting and handling workflow.
The mistake to avoid is shrinking important artwork just to squeeze in one more copy.
Quick answer: establish the sheet size, set every graphic to its finished dimensions, arrange the required quantities, and preserve the supplier's spacing.
On this page
- Set the sheet dimensions
- Group artwork by finished size
- Leave approved spacing
- Check the layout before upload
- FAQs
Set the sheet dimensions
Start with the sheet dimensions currently accepted by the transfer supplier. Do not build around a size copied from another printer's tutorial.
Create a layout with clear units. Mixing inches and centimeters can turn an otherwise tidy file into an expensive sizing error.
Record the order's actual needs before arranging artwork. A useful list might include six chest logos, three large back graphics, and two replacement logos. Those are planning examples, not recommended order quantities.
Group artwork by finished size
For Vulgrco's custom textile DTF transfers, use the current builder or upload workflow to establish each design's final size.
Group copies logically. Keep one garment size or artwork version together if that makes cutting and sorting easier.
| Layout decision | What to check |
|---|---|
| Repeated logo | Every copy has the same dimensions |
| Front and back graphics | Counts match the garment plan |
| Rotated artwork | Orientation remains clear during sorting |
| Spare graphics | They serve a real replacement need |
Rotation can improve packing without changing size. Rescaling changes the finished product, so treat it as a design decision.
Leave approved spacing
Use the spacing required by the supplier and your cutting method. There is no universal gap that suits every sheet and workflow.
Keep adjacent graphics far enough apart for the approved handling process. Tiny disconnected elements deserve extra attention because they can be hard to identify once a sheet is divided.
The Ninja Transfers gang-sheet guide illustrates the layout concept. Its builder settings should not be substituted for Vulgrco's requirements.
Check the layout before upload
Read the sheet like an order, not like a collage. Count each graphic, verify its size, and check transparent areas for stray background pixels.
Make a simple cutting map or save a labeled layout preview separately from the print artwork. Do not accidentally print those working labels.
Have someone compare the sheet against the quantity list if the order contains several variations. A second count is cheaper than discovering that the youth-size logo was repeated in the adult size.
Keep the accepted proof and finished dimensions for reorders. Change the version name when a logo or quantity changes.
FAQs
What is a DTF gang sheet?
It is a sheet containing multiple transfer graphics arranged together. Those graphics can be repeated copies or different designs. The sheet is divided and applied according to the transfer supplier's instructions and the decorator's approved workflow.
Can I mix different designs on one sheet?
Check the current ordering options. Where the workflow supports multiple designs, set each to its intended finished size and quantity. Keep versions identifiable so graphics for different garments or customers are not mixed up after cutting.
How much space should I leave between graphics?
Follow the supplier's current spacing requirements and consider the approved cutting method. Avoid treating another printer's gap as a universal rule. Adequate room should allow the graphics to be separated and handled without damaging neighboring designs.
Should I resize logos to fill an empty gap?
Only if that smaller size is useful for the finished garment. Empty space does not justify producing an unwanted print size. Rotate compatible graphics or add genuinely needed spares before changing dimensions simply to improve packing.