
A plate file is ready when it fits the current template, preserves important details, and matches the personalized order. A design that looks attractive at full-screen size can still fail those checks.
Quick answer: use the correct template, protect restricted areas, inspect artwork at final size, and approve each personalized version.
On this page
- Use the current plate template
- Keep text clear of restricted areas
- Check colors and resolution
- Inspect each personalized proof
- FAQs
Use the current plate template
Start with the supplier's current dimensions and artwork workflow. A template from another seller may place holes or safe areas differently.
Keep an editable source and a clearly named submission file. Include a version identifier so a corrected name or crop does not get confused with the earlier design.
Use consistent units throughout the layout. Check whether the proof shows the expected overall size rather than relying on the editor's zoom level.
Keep text clear of restricted areas
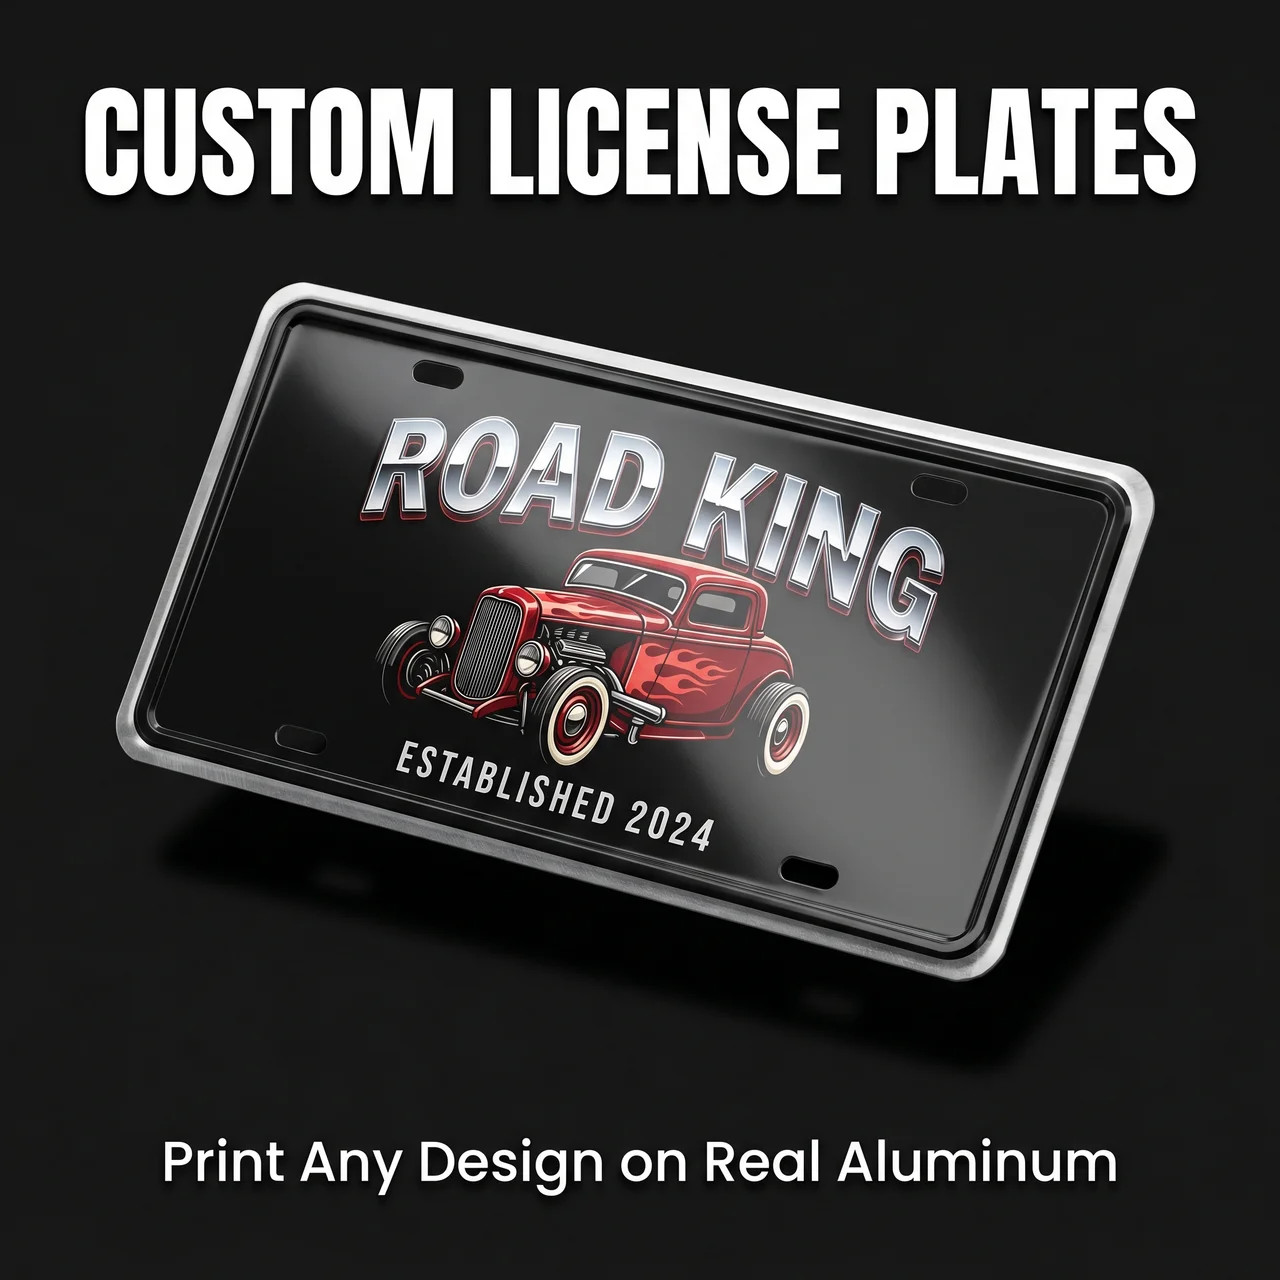
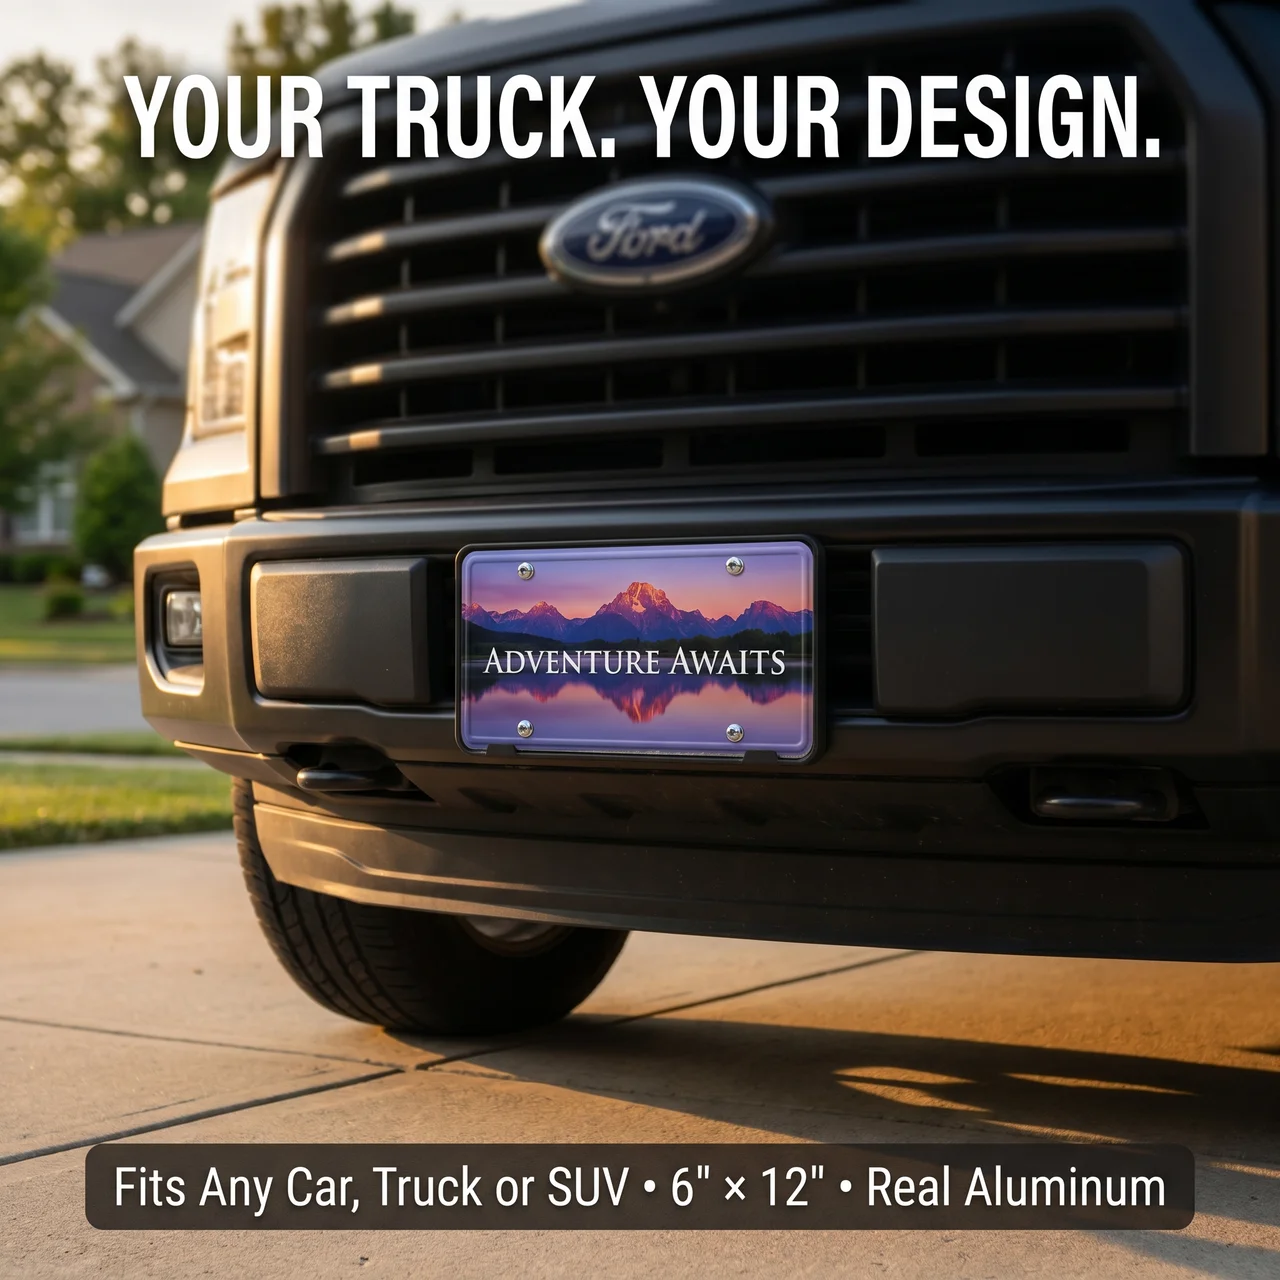
When preparing custom novelty license plates, review mounting holes, safe areas, and any frame that will be used.
Important names, dates, and faces belong away from those zones. Decorative background elements can often tolerate more overlap than the main message.
If you plan to use a frame, assess the actual opening. A generic frame preview cannot establish clearance for every accessory.
Do not add unofficial registration elements that could misrepresent the decorative product.
Check colors and resolution
Use the best available artwork source. Preserve image proportions and review pixel detail at the intended printed size.
A color that looks vivid on a backlit screen may look different on the final material. Ask about the supplier's color workflow when a specific brand color matters.
Check contrast between the main message and background. A busy photograph may need a calmer text area or a simpler caption.
Do not sharpen a poor photo aggressively and treat the resulting preview as restored detail.
Inspect each personalized proof
Use a checklist that catches both design and order errors:
- Correct recipient name and punctuation.
- Correct photo or logo version.
- Intended dimensions and crop.
- Clear mounting and frame areas.
- Readable text at actual size.
- Correct quantities and product options.
For multiple recipients, review each variation. A perfect master layout does not prevent a misspelled individual name.
Save the approved proofs with the order record. Those files establish what was approved and make future reorders easier to compare.
FAQs
Can I use a license plate template from another seller?
It may not match the current product's dimensions, mounting holes, or safe areas. Use the actual supplier's current template and upload requirements. If adapting an existing design, recheck the entire layout rather than assuming the old clearances remain suitable.
What should stay away from mounting holes?
Protect names, faces, dates, and any essential text or logo details. Consider the frame or mounting accessory too. Background artwork may extend farther, but important information should remain clear in the finished display, not just in an unmounted proof.
Is a high-resolution screenshot a good artwork source?
The original image or editable artwork is usually a better starting point. A screenshot can include compression, reduced dimensions, or unwanted interface elements. Inspect the source at the intended print size and follow the accepted file requirements.
Do I need to review every personalized plate?
Yes. Each variation can introduce a spelling, photo, crop, or option error even when the master design is correct. Compare each proof with a reviewed order list and keep the approved versions together for later reference.