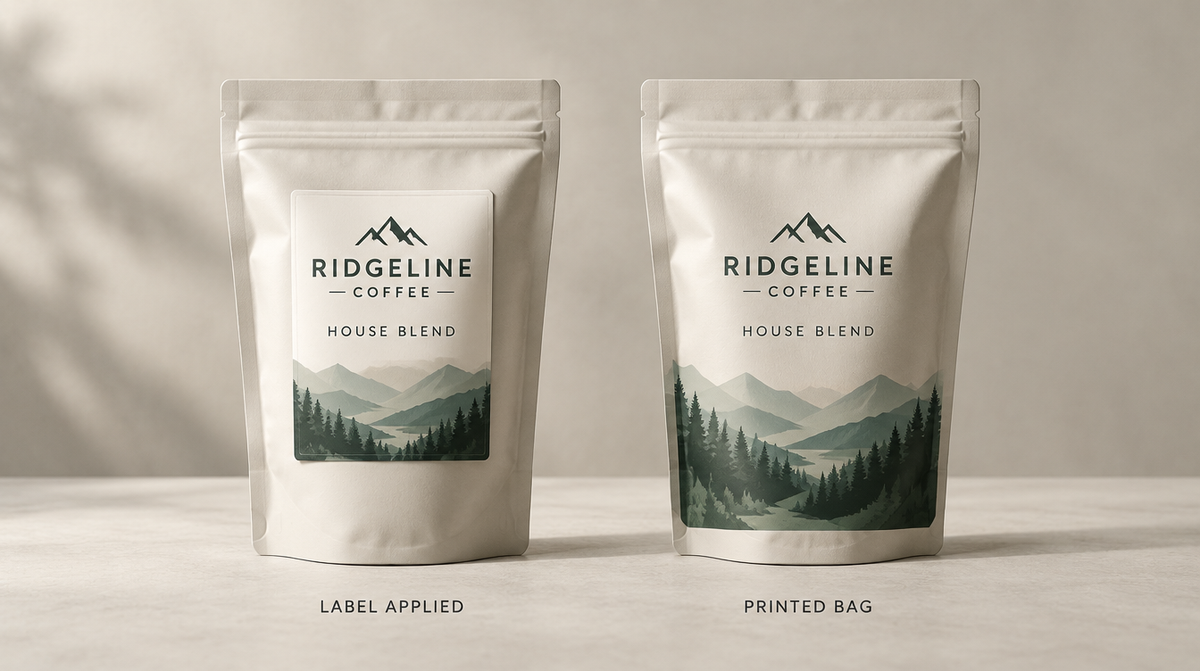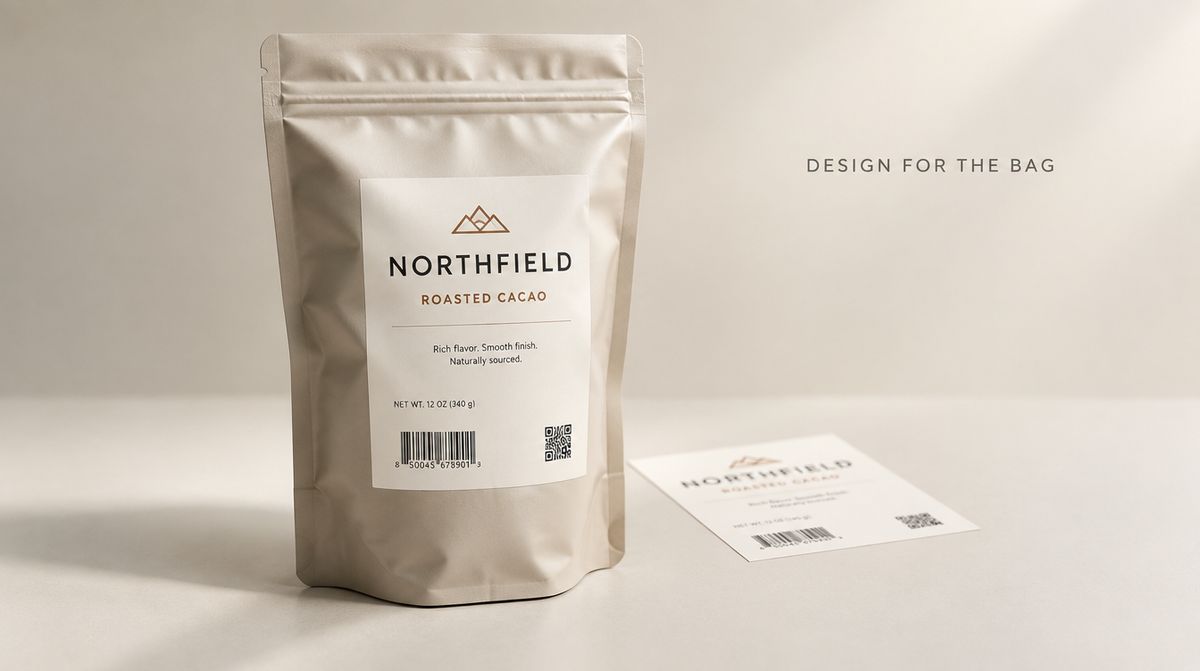

Measure the space the label will actually occupy, not just the bag's advertised size. Closures, seams, and the shape after filling can change how the label sits.
Quick answer: measure the usable face, avoid structural areas, and test a paper mockup on a representative filled bag before choosing dimensions.
On this page
- Measure the flat printable face
- Avoid zipper and gusset areas
- Test a paper mockup on a filled bag
- Confirm the final dimensions
- FAQs
Measure the flat printable face
Start with a real bag from the intended supply batch.
Measure the usable width and height of the label area. Note whether application will happen before or after filling, since that can change handling.
Use the current size options for custom Mylar bag labels to compare practical layouts.
Use consistent units. A sketch showing the usable face, zipper, and folds can communicate the available space more clearly than a close-up photo that leaves the supplier guessing how large the bag is or where the label should stop.
Avoid zipper and gusset areas
Identify the zipper, seal, seams, folded areas, and any feature the label must not obstruct.
Keep the opening and closure accessible. A label should not cover a functional area simply because the front panel looks large in a flat preview.
Review whether the bag expands or folds near the intended edge of the label. Avoid choosing dimensions that place essential text into an awkward curve.
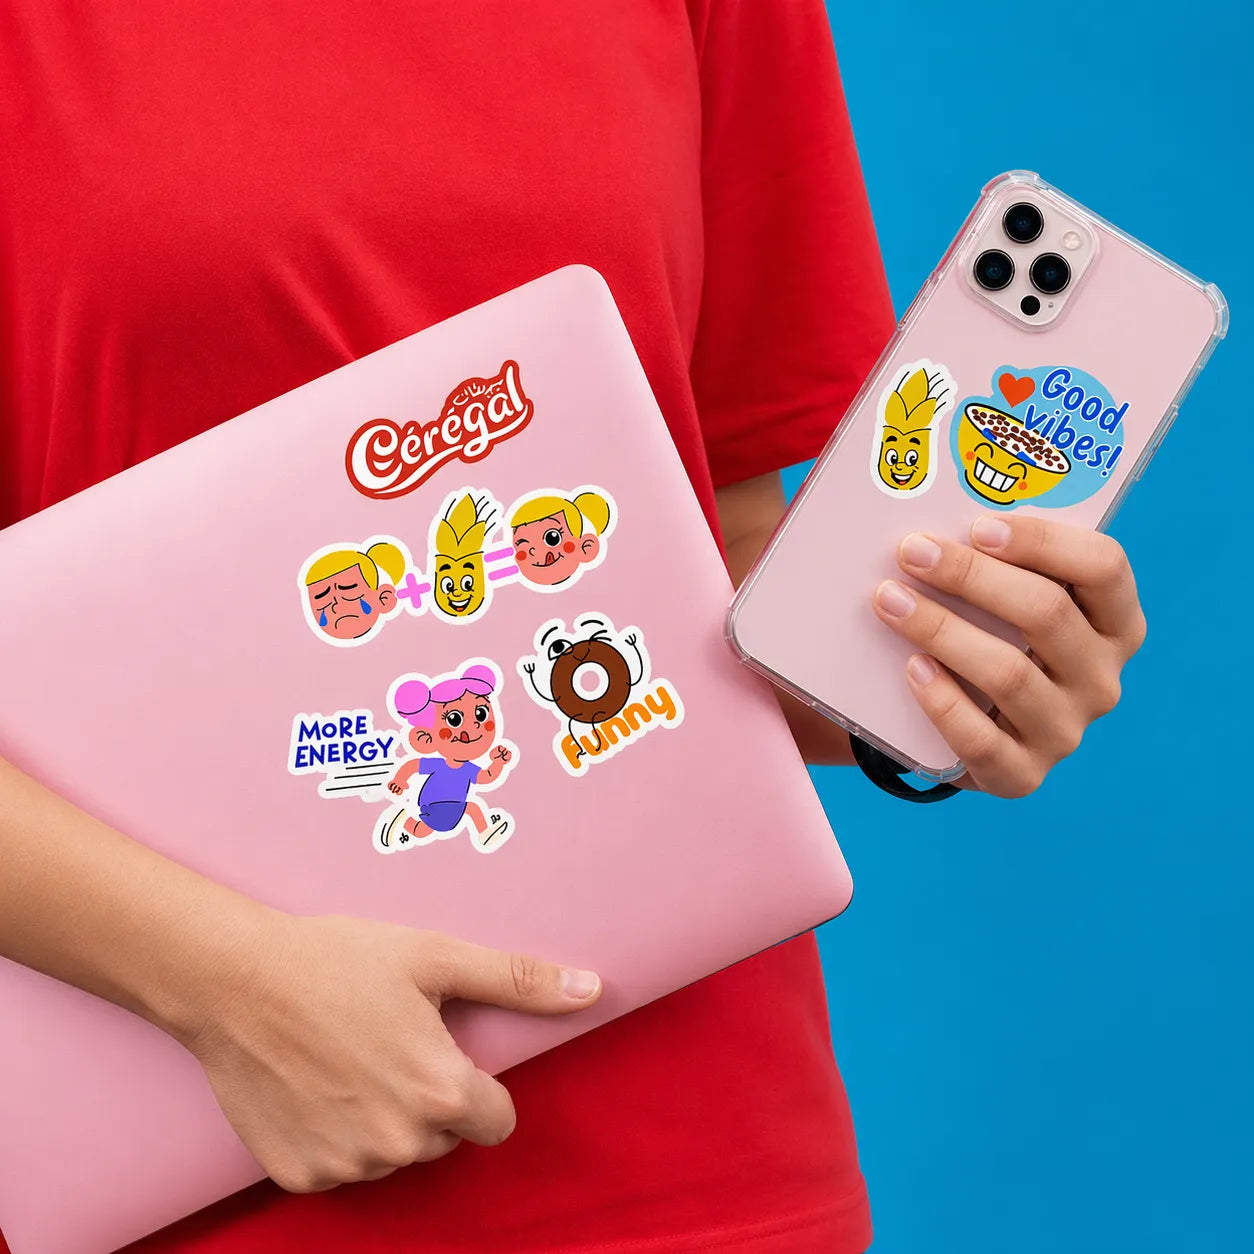
For an alternate label material, inspect vinyl labels and confirm compatibility rather than assuming the material name settles fit.
Test a paper mockup on a filled bag
Cut a paper sample at the proposed dimensions. Place it using a suitable temporary method that does not affect the bag or contents.
Check appearance from the front and an angle. Inspect how the label relates to the filled shape and whether the main message remains readable.
Paper can verify scale and layout; it does not test adhesive, oil resistance, cleaning tolerance, or long-term performance.
Compare more than one size if the first mockup feels crowded. Reducing nonessential content may be better than maximizing the label area.
Confirm the final dimensions
Record the label width, height, shape, placement, and bag specification together.
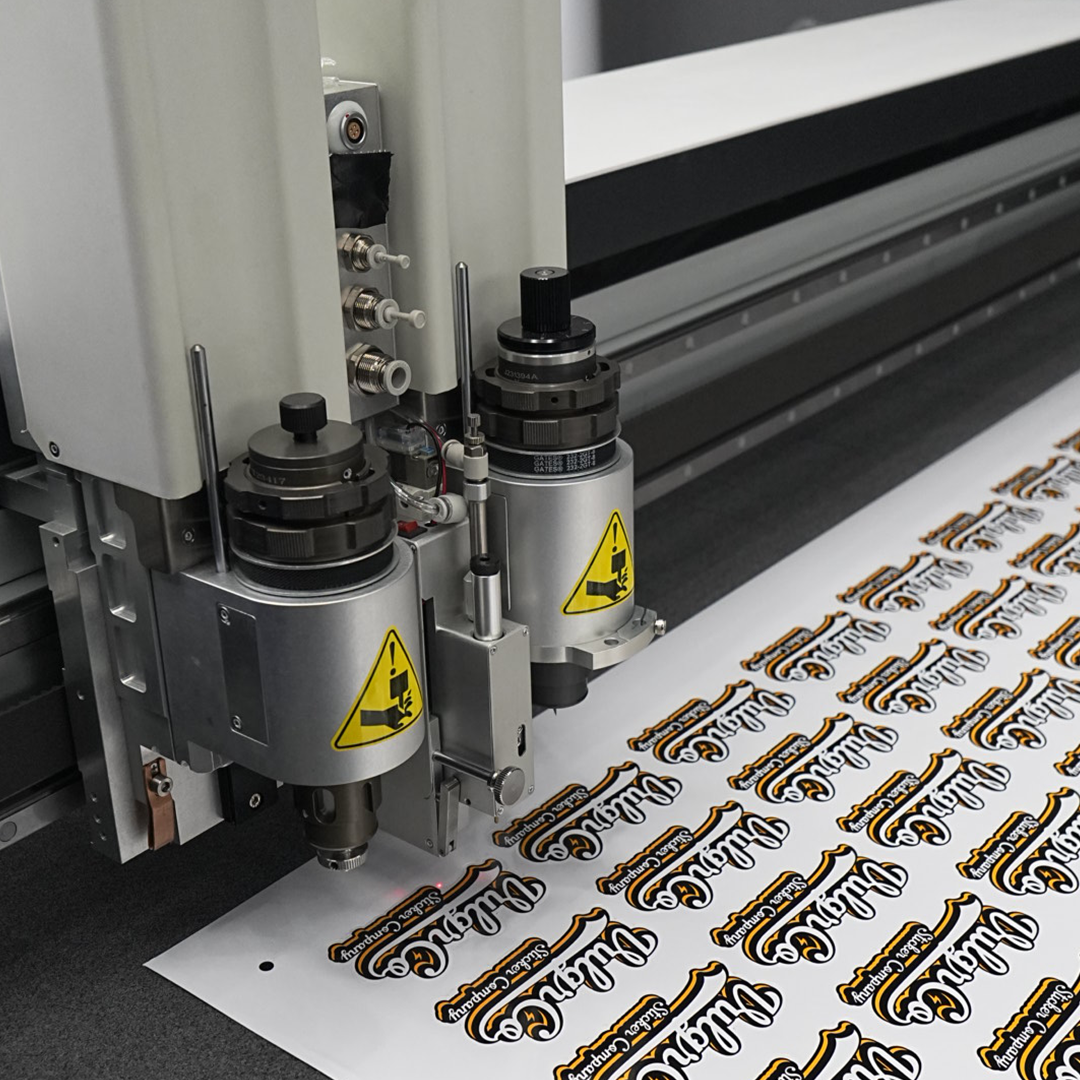
Review several representative bags if the supply varies. Confirm the actual adhesive and material with the supplier for the intended bag surface and use.
Check the proof against the measured layout before approval. Keep important text within the current template's safe areas.
Save the measurements and approved sample for reorders. If the bag supplier changes, repeat the fit check instead of treating the old label as automatically compatible.
FAQs
Should I use the bag's advertised dimensions as the label size?
No. Nominal bag dimensions include areas that may not be usable for labeling. Measure the actual face after accounting for seams, closures, folds, and filled shape. Choose the label around that space and the product's available options.
Should I test the label on an empty or filled bag?
Use a representative bag in the state relevant to application and display. A filled bag can reveal curvature and folds that are absent when it is flat. Check the actual production workflow rather than assuming the empty appearance will remain unchanged.
How close can the label sit to the zipper?
Keep the closure functional and follow the current product and packaging guidance. This guide establishes no universal clearance measurement. Use a mockup to check access and shape, then confirm material compatibility separately.
Does a paper mockup prove the label will stick?
No. It checks size, placement, and readability. Adhesion depends on the actual label, adhesive, bag surface, preparation, and conditions. Confirm specifications and use an appropriate representative sample when those performance questions matter.