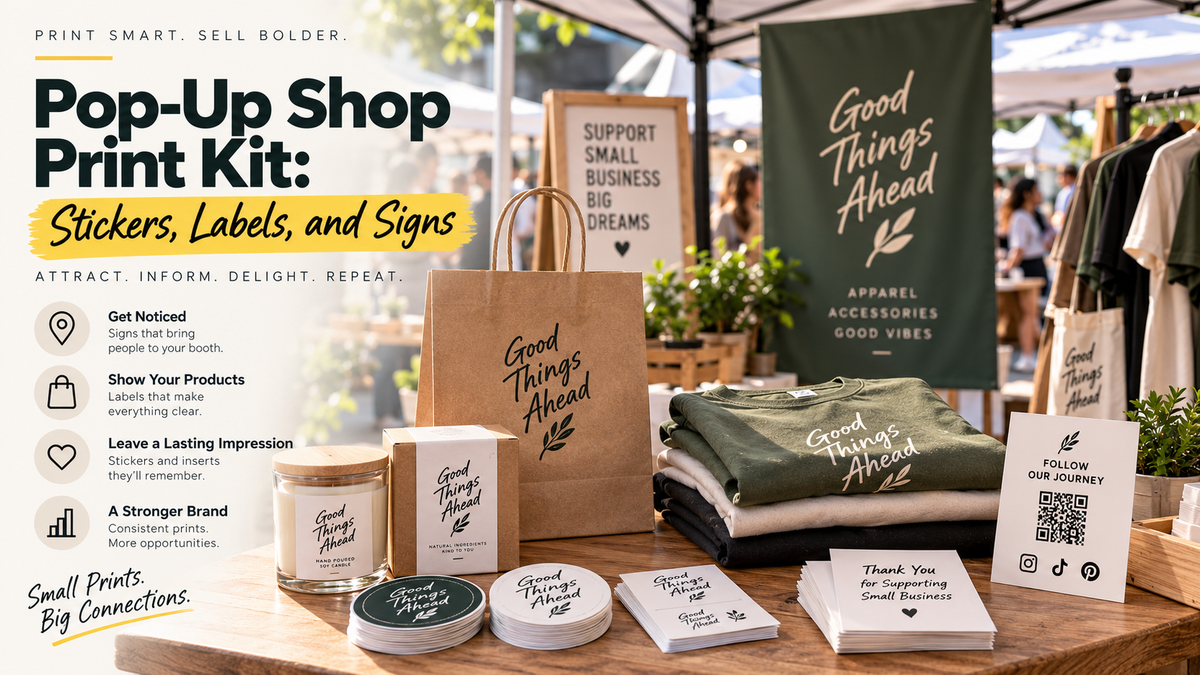

A clothing brand's print kit spans garment decoration and packaging. Those jobs can share a visual identity while needing different products and instructions.
Quick answer: separate garment prints from packaging labels and promotional pieces, then build a representative small run before scaling.
On this page
- Separate garment and packaging requirements
- Prepare a shared artwork system
- Build a small test run
- Track fit care and reorder feedback
- FAQs
Separate garment and packaging requirements
List the actual items: garment graphics, package identification, care information, and any appropriate promotional piece.
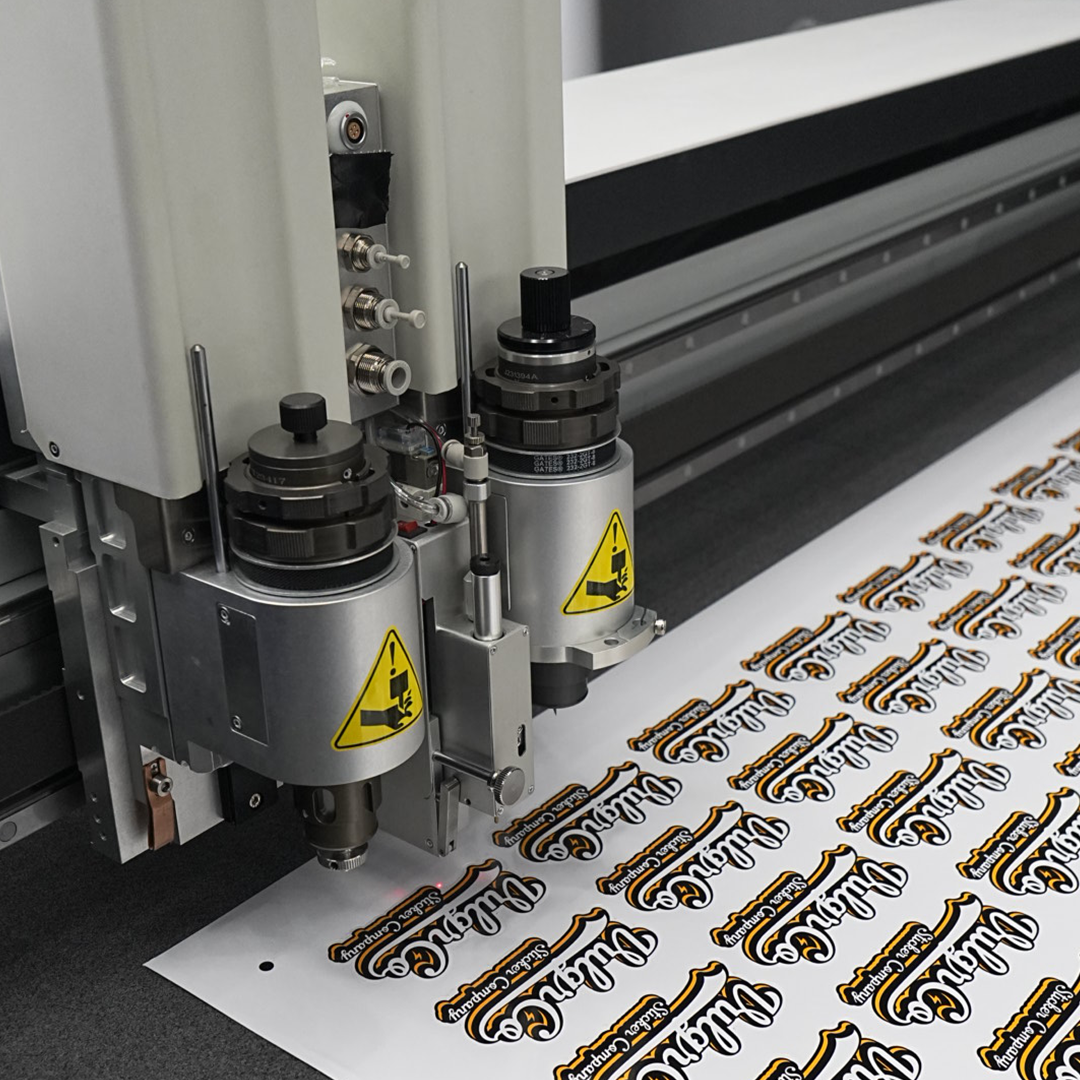
Garment decoration needs compatible transfers and application equipment. Packaging labels need suitable dimensions, adhesive, and surfaces.
Do not assume a general packaging label is suitable as a sewn-in garment label or provides every required textile disclosure. Establish the applicable requirements for the garments and sales market separately.
Use the kit to organize the brand's work rather than claiming a logo alone makes a product complete.
Prepare a shared artwork system
Use custom textile DTF transfers for the supported garment-transfer workflow.
Keep one approved logo source and prepare separate chest, back, and packaging versions where needed. Record final sizes and artwork names.
Choose a consistent palette and lettering approach, but let each layout do its own job. A small packaging mark may need fewer details than a large back graphic.
Maintain a simple product list connecting garment style, design, size, and quantity. That list helps prevent both printing and packing errors.
Build a small test run
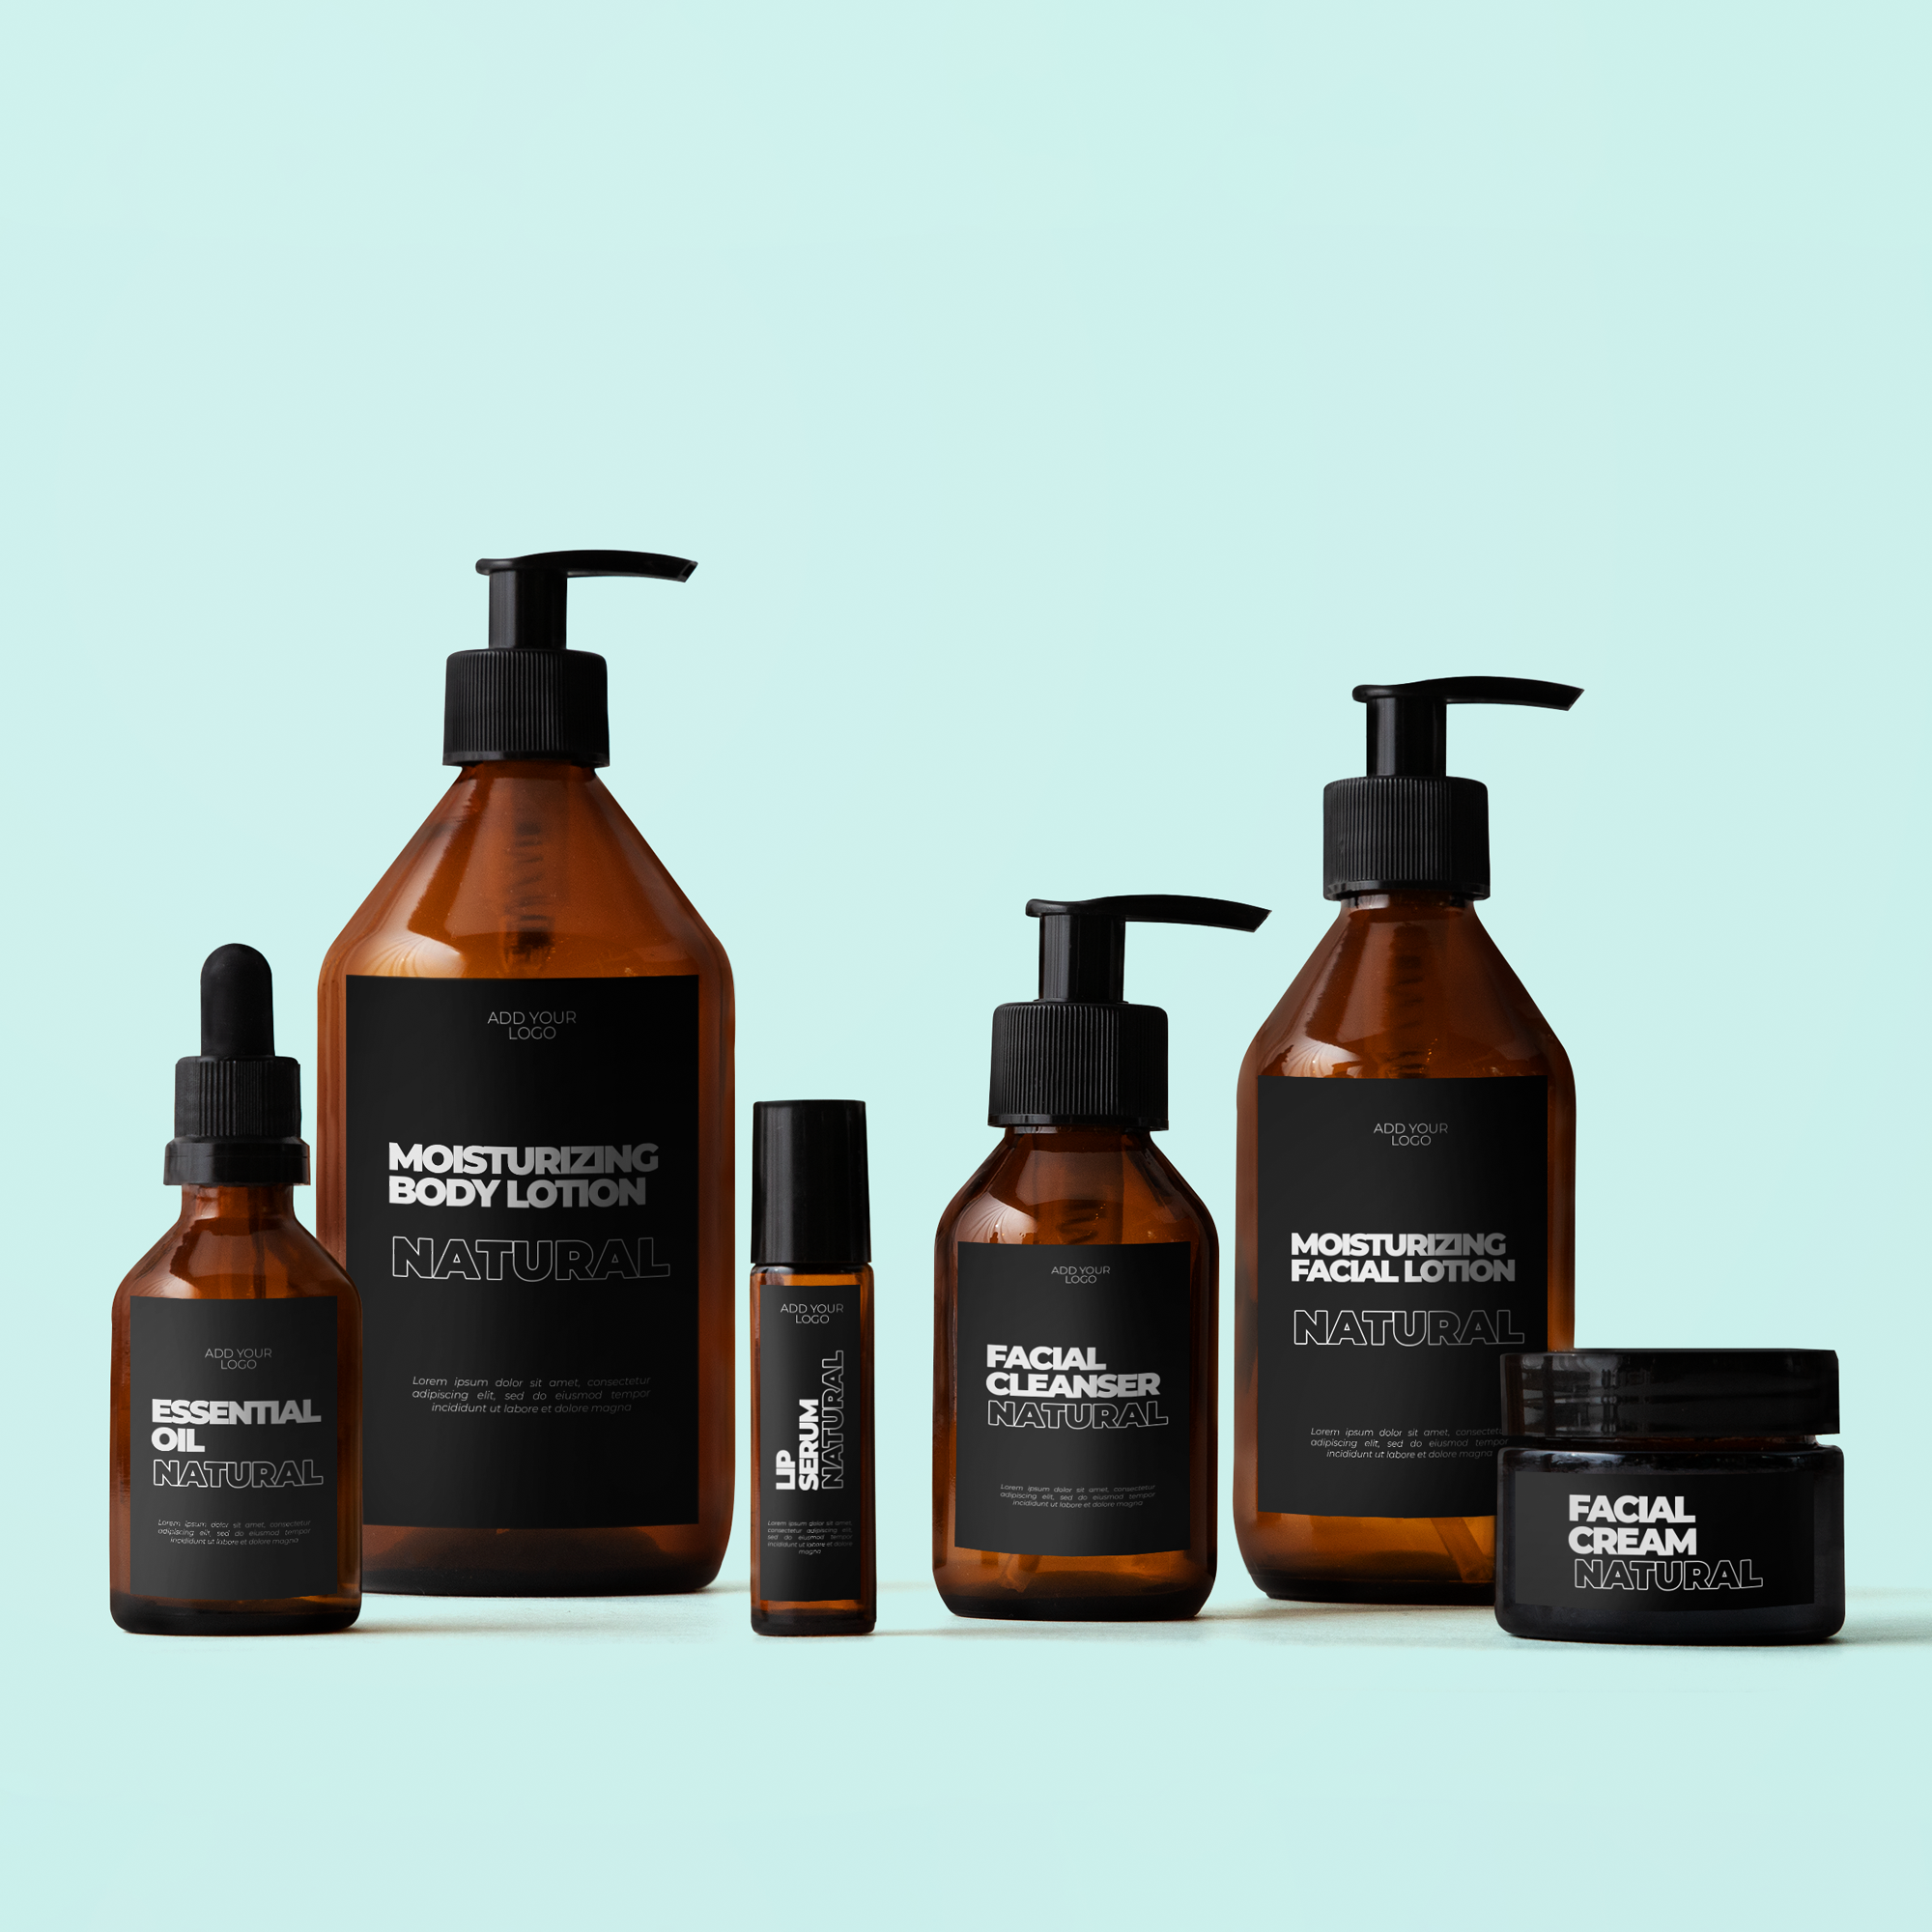
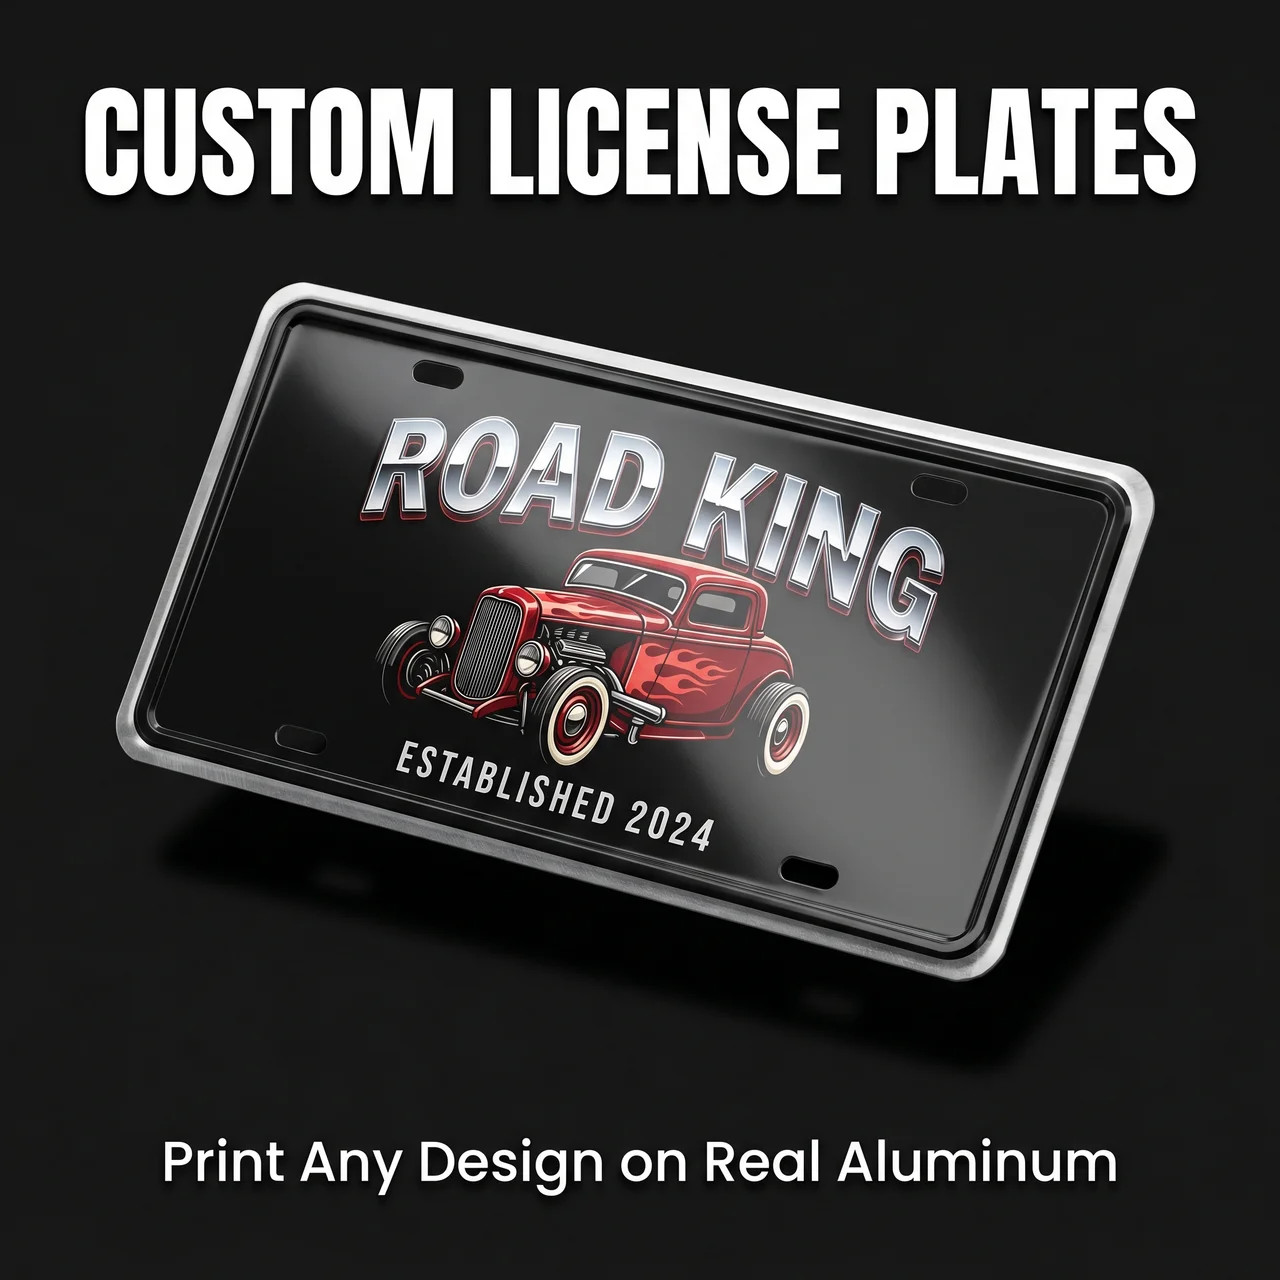
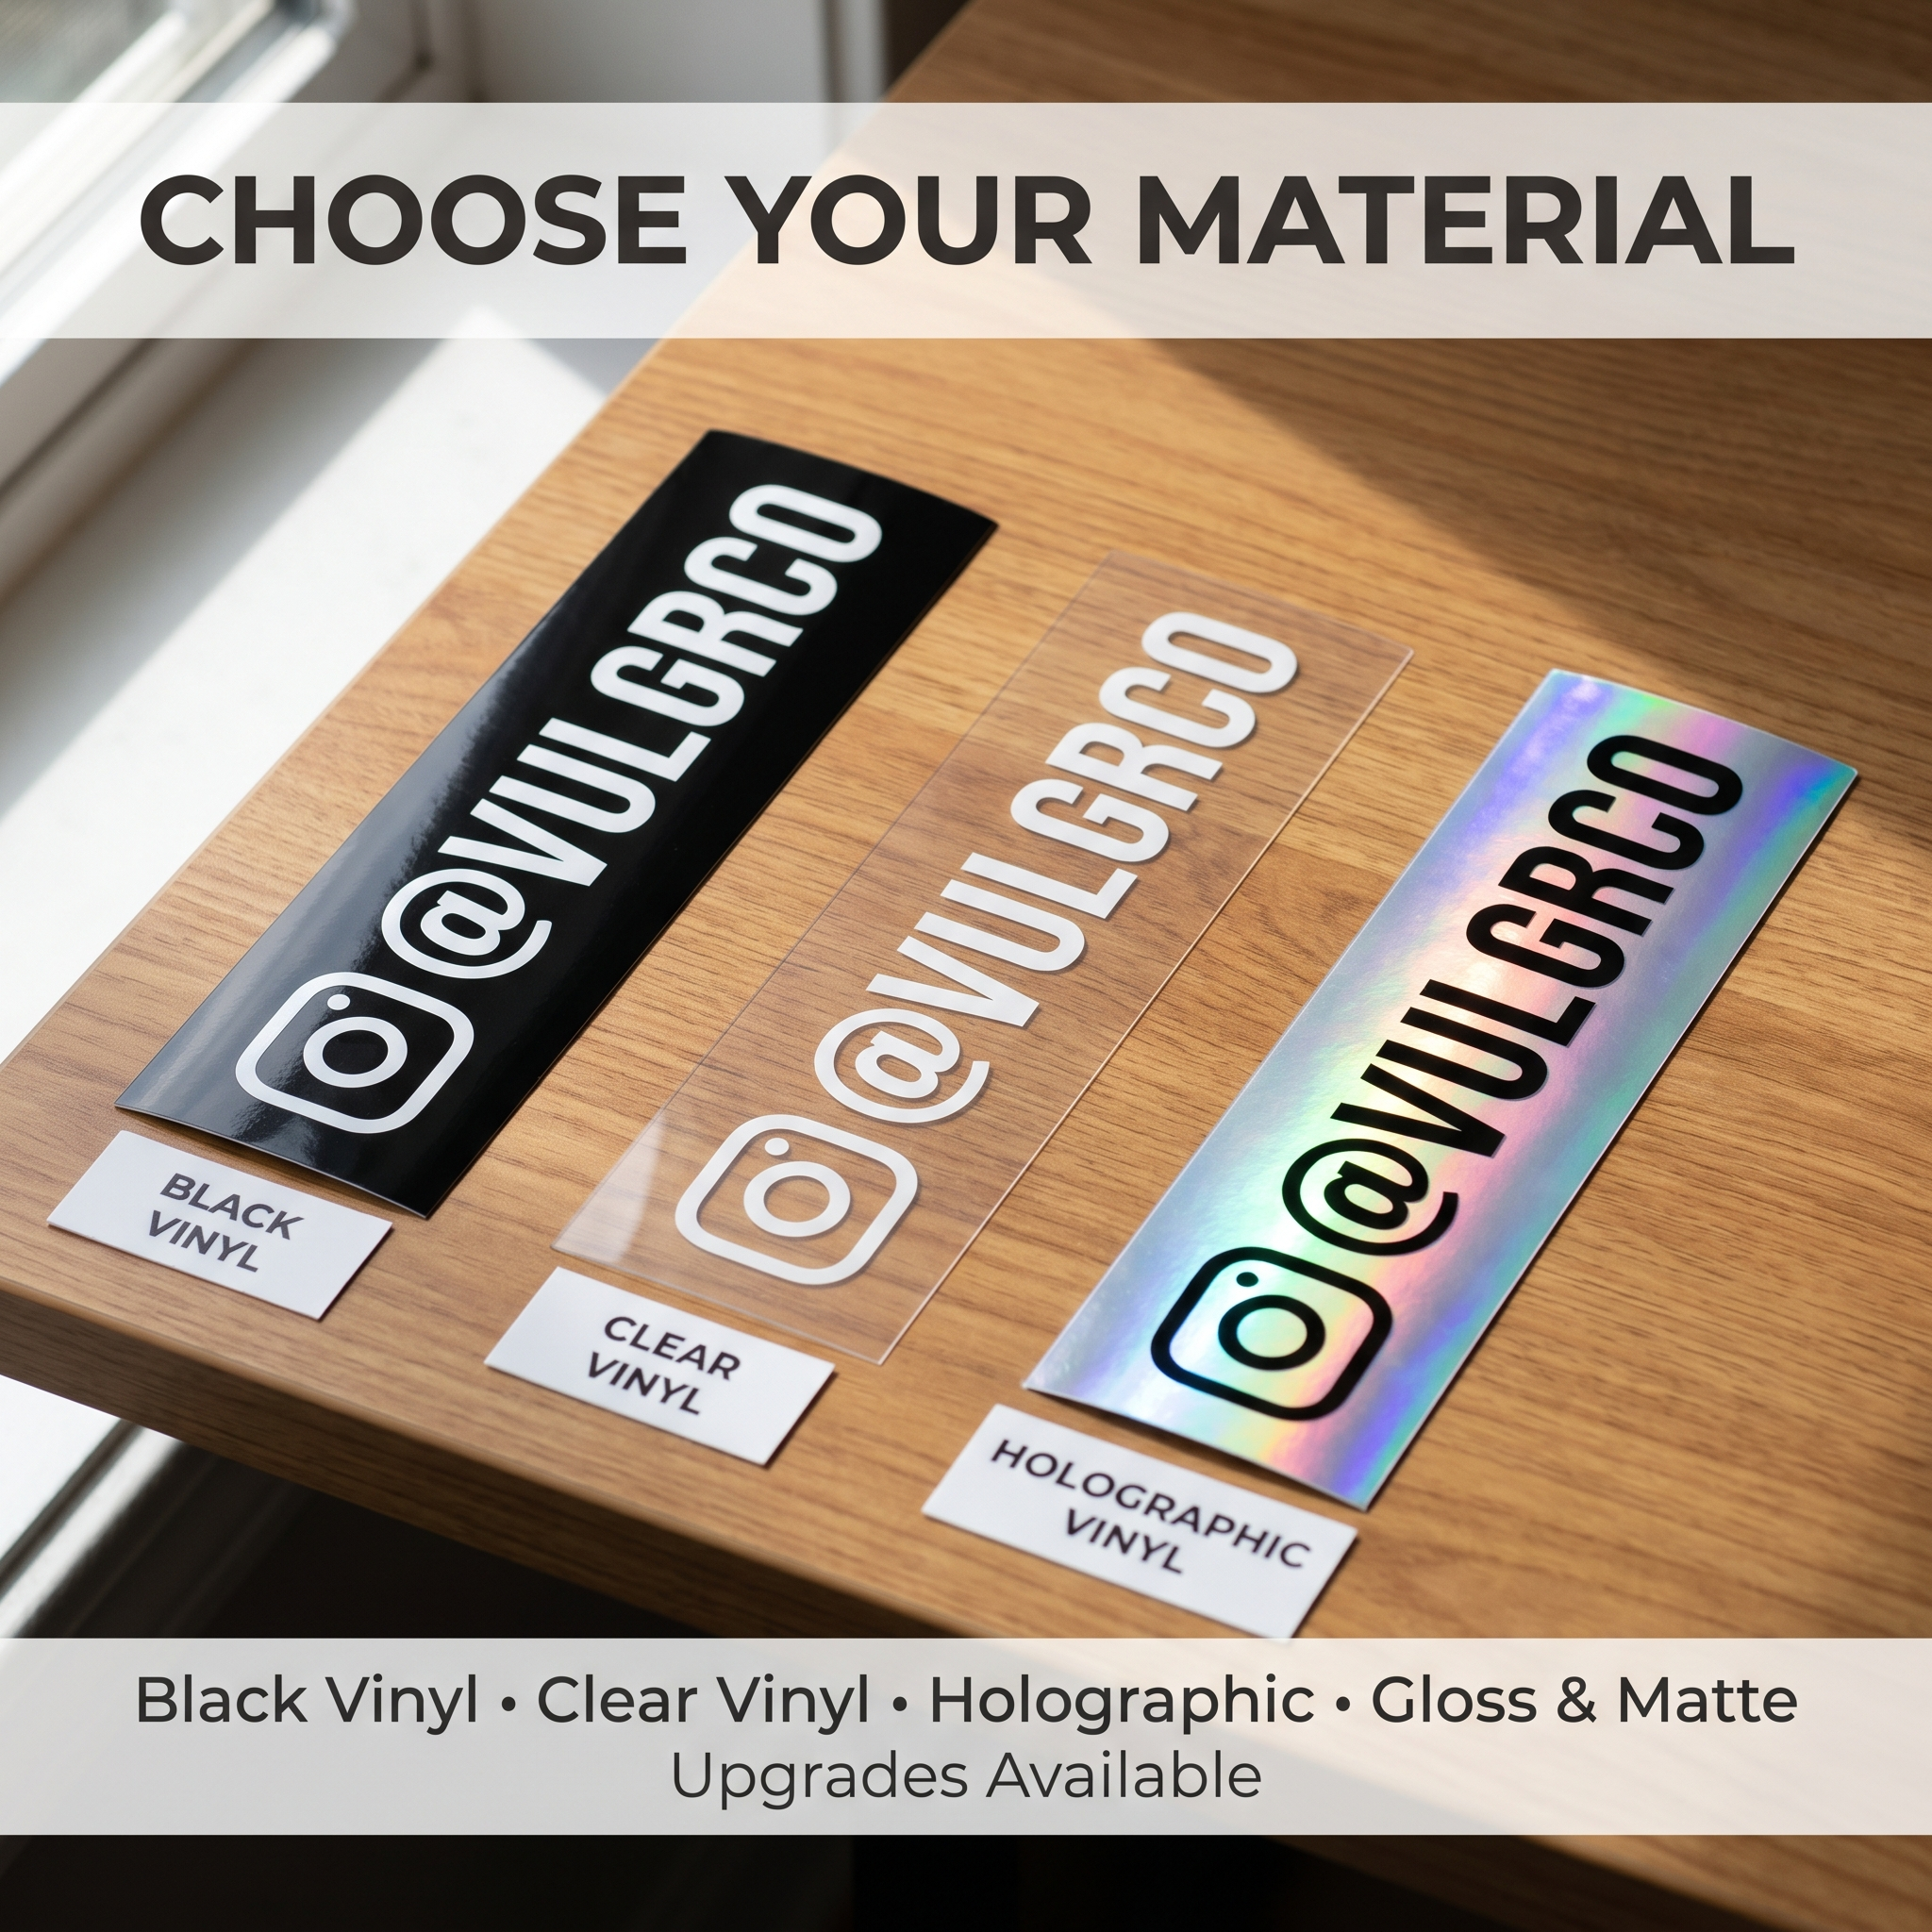
Review custom labels for compatible packaging uses.
Produce a representative sample of the complete customer order: decorated garment, applicable care information, packaging identification, and any separate insert you source.
Check the whole order. If the sample uses a different shirt, bag, or artwork size from the intended run, record that difference and test the actual combination before using the sample as approval for production.
Compare the cost and labor of the complete kit before increasing quantities.
Track fit care and reorder feedback
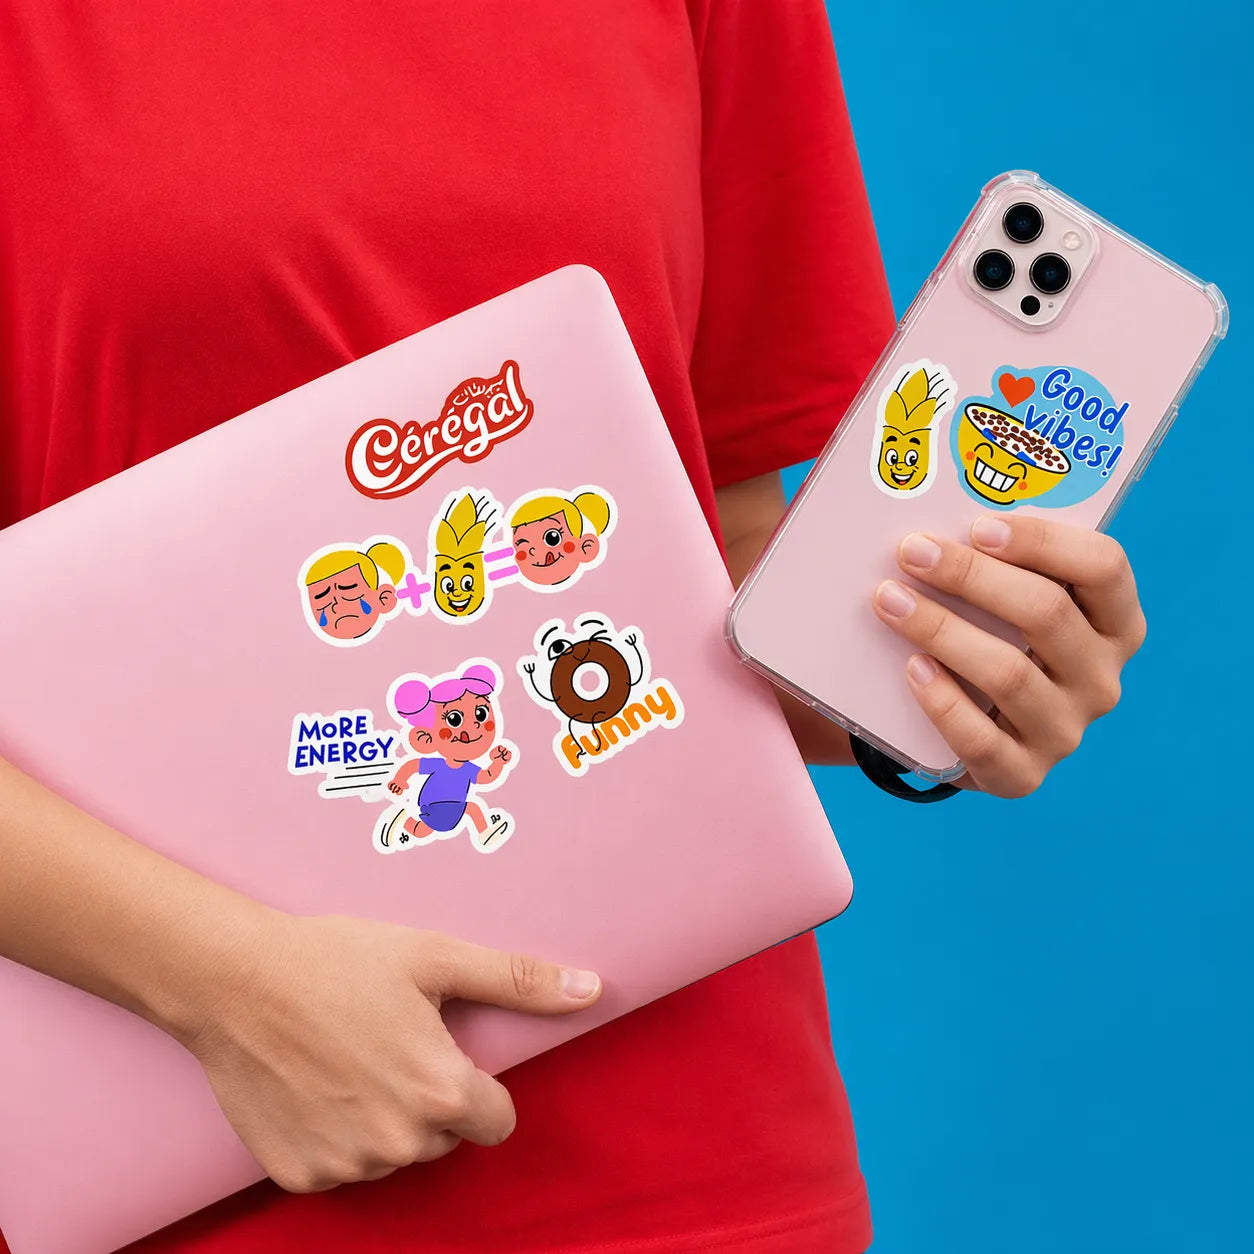
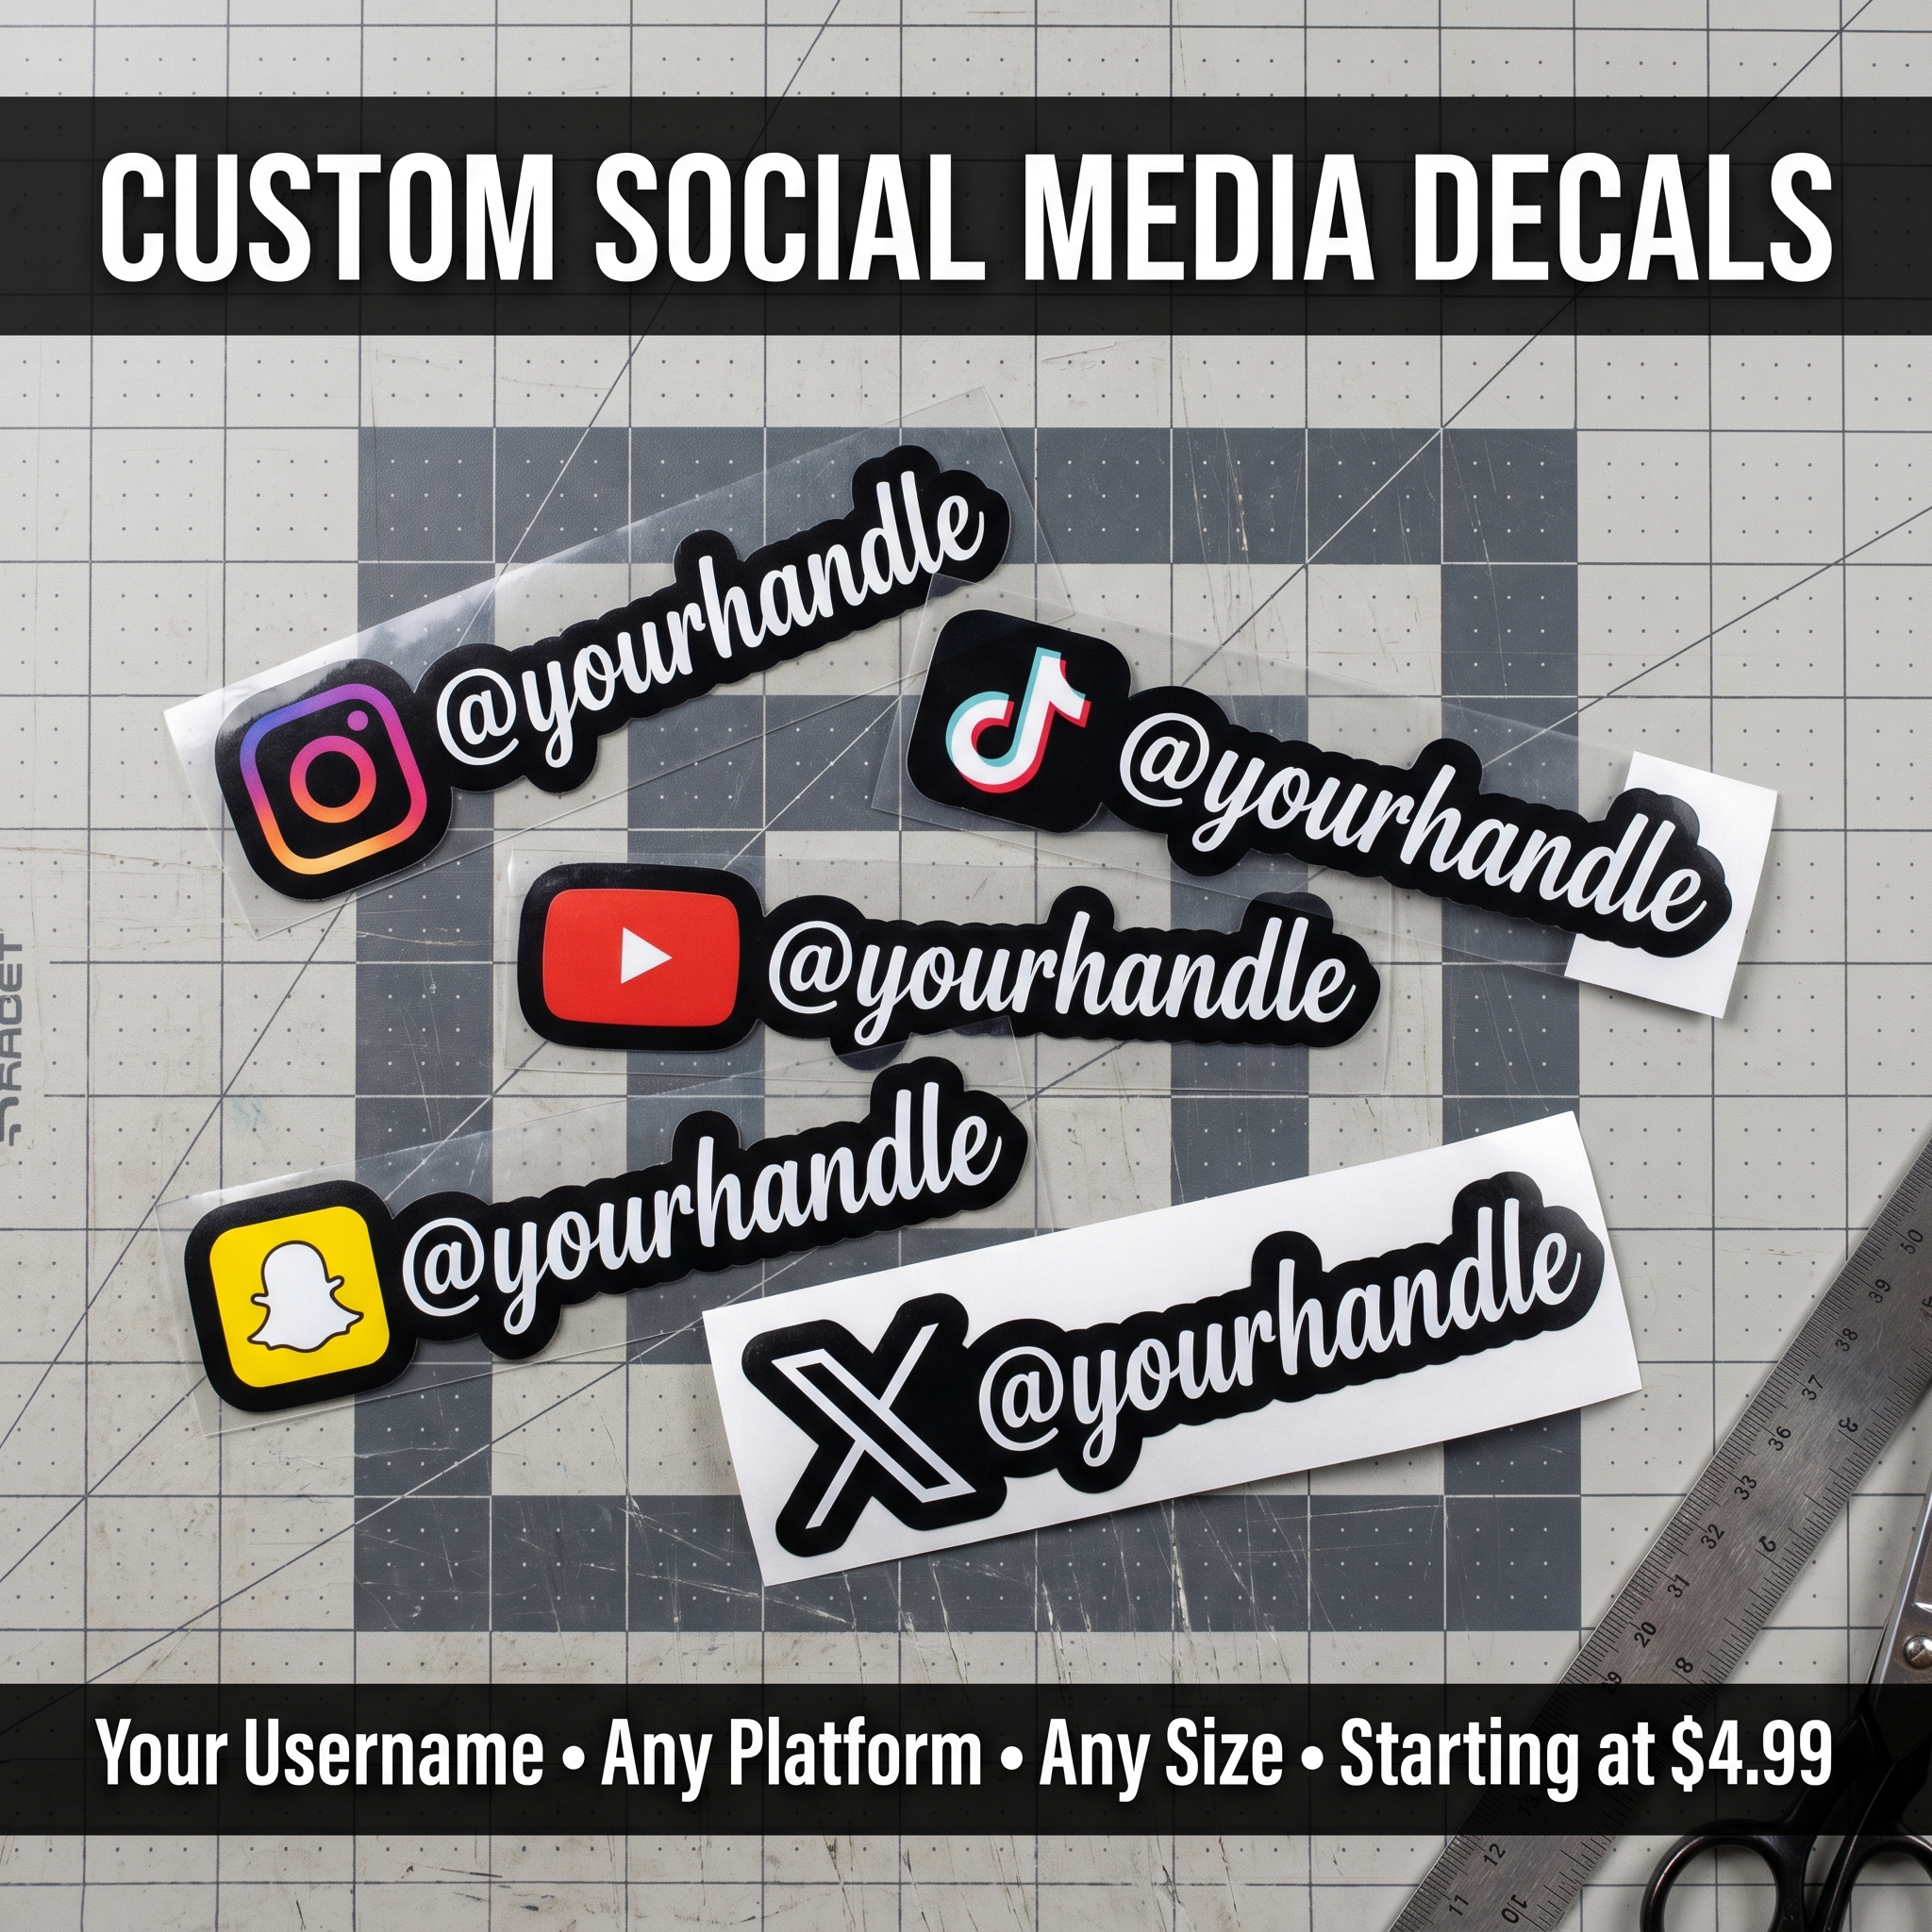
Custom stickers can be an optional branded addition when there is a clear purpose.
Track practical feedback: misplaced prints, confusing variants, packaging problems, and care questions.
Keep the approved transfer instructions and garment-care guidance with the order record. Use documented evidence for durability claims rather than adding an unsupported wash guarantee to the brand's copy.
Update the relevant file when a problem is fixed. A controlled reorder should use the corrected version, not the original file someone happens to find first.
FAQs
What should a small clothing brand print first?
Prioritize the garment graphic and accurate product and care information. Add packaging identifiers and optional promotional items according to the customer experience and budget. Confirm applicable textile requirements separately rather than assuming a general print kit satisfies them.
Can I use custom labels as garment labels?
Do not assume that a packaging label is suitable for garment use. Check the exact product, attachment method, fabric compatibility, and applicable disclosure requirements. Source a purpose-appropriate garment label when the general product does not meet that job.
Why should I make a complete sample order?
It reveals interactions that separate artwork proofs can miss: garment placement, packaging fit, variant identification, and care information. Use the actual intended materials and keep a record of changes before increasing the run.
Are promotional stickers essential?
No. They can be useful when they fit the brand and customer experience, but they are optional. Prioritize a sound garment and accurate information first. Track whether the addition has a practical purpose rather than including it solely because it matches the logo.