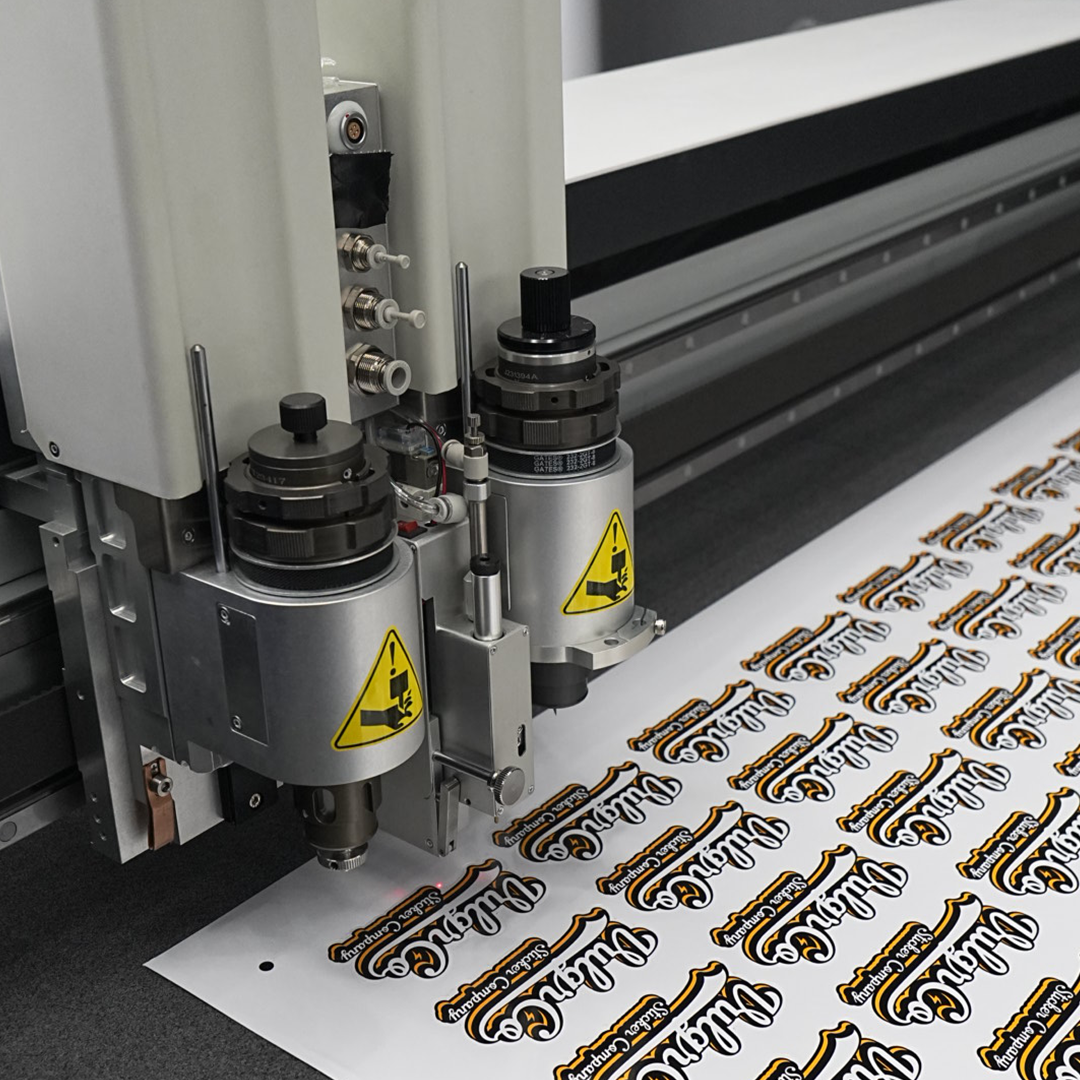

A sticker file can look sharp on your phone and still be too small for the print size you want. Preparing artwork for sticker printing starts with finished dimensions, then checks pixels, edges, and the intended cut.
For a first-time buyer, those checks are more useful than memorizing a file-size number.
Quick answer: choose the physical size, inspect the original image at that size, follow the current uploader's file rules, and review the proof before printing.
On this page
- Set the finished size first
- Check pixel dimensions at print size
- Prepare edges and cut lines
- Export and inspect the proof
- FAQs
Set the finished size first
Write down the width and height in inches or millimeters. Keep the units consistent. If you want a three-inch logo, build around that size rather than designing an unspecified square and scaling it at checkout.
Distinguish the outer cut from the visible image. A white border adds to the finished dimensions when it is part of the sticker. A backing border may be a separate measurement.
For custom stickers, check the current size controls and explain any unusual shape in the order notes. If the same design will become product labels, create a separate size-specific file instead of assuming the sticker layout fits the container.
Check pixel dimensions at print size
For raster artwork, the useful relationship is physical size multiplied by pixels per inch. At 300 pixels per inch, a three-inch-wide image corresponds to 900 pixels across. That is a calculated example, not a universal minimum for every printing process.
A photograph with more pixels gives you more room to crop. If you remove half the image to isolate a face, the remaining crop has fewer pixels than the original.
Changing the resolution label alone does not restore missing image detail. Adobe's image-size guidance distinguishes print resolution from resampling. Inspect the actual edges, lettering, and subject rather than trusting an export preset.
“300 DPI” is not a file size in megabytes. It describes a density setting or printing-related target, depending on context.
Prepare edges and cut lines
Keep critical details away from the cut edge using the printer's current safe-area requirements. Do not invent a margin from another supplier's template.
Bleed means artwork extends beyond the final trim so a small cutting variation does not expose an unintended unprinted edge. The exact amount belongs to the selected process.
For an unusual shape, communicate the intended outline clearly. Ask whether you should provide a cut path or whether the production team will create it. A colored line drawn into the visible artwork is not automatically a production cut instruction.
Useful file check:
- The dimensions match the order.
- Text is readable at actual size.
- The intended background is clear.
- No unwanted fragments sit outside the shape.
- Essential content is inside the approved safe area.
Export and inspect the proof
Use a format the current product uploader accepts. Preserve the original editable file so corrections do not require rebuilding the design.
Open the exported file independently. Check that transparent areas, fonts, and effects survived the export. A file that looks correct inside the editor can change when converted.
On the proof, check spelling, cut shape, final size, borders, and placement. A proof is your chance to catch an accidental crop, not just a decorative preview to approve quickly.
Approve only after the actual artwork and ordering choices agree.
FAQs
Is 300 DPI a file size?
No. File size describes stored data, often in kilobytes or megabytes. Resolution describes how image information relates to output size. For raster print preparation, inspect pixel dimensions and intended physical dimensions together rather than judging quality by download size.
Can I use a small screenshot?
A screenshot may work for a small, simple design, but it can contain limited detail and compression. Use the original artwork when possible. Check the cropped screenshot at the intended print dimensions; enlarging it does not recreate fine lettering or photographic detail.
Do I need to draw a cut line?
Follow the selected printer's current instructions. Some workflows ask for a specific path; others generate one from the artwork or proof request. Do not add a visible colored outline unless it is meant to print. Describe the desired finished shape clearly.
Should I export PNG, SVG, or PDF?
Use an accepted format that preserves the type of artwork you have. A transparent raster file and a vector logo have different needs. Check the current product uploader, inspect the exported file, and retain your editable original for changes.